
Smooth Feedback Loops for macOS Apps
Combine DockProgress and system notifications to keep users informed—without breaking flow.

At some point, every macOS developer is going to run into this problem: you’re building an app and you’ve got a feature that’s going to take some time; whether it’s downloading some data, or running some computation, or using AI to generate something — and the user, while all of that is happening, is opening up ten different other apps and has forgotten all about yours.
When your task finally finishes, the user doesn’t even realize that it did. They are alt-tabbing between windows, thinking, “What is taking so long?”
That is bad UX.
So, how do we fix this?
We have two solutions here:
Send a notification when the task completes.
Show progress directly on your app icon in the Dock.
Now let’s go over each of those individually.
1. Notifications: keep users in the loop
First off, you’ll need to import the framework:
import UserNotifications
Next, you will want to create a small helper class where you can place your notification logic. You can drop this into any project and start using it right away:
class NotificationManager {
    static let shared = NotificationManager()

    func requestAuthorization() {
        UNUserNotificationCenter.current().requestAuthorization(options: [.alert, .sound, .badge]) { granted, _ in
            if granted {
                print(”✅ Notification permission granted”)
            } else {
                print(”❌ Notification permission denied”)
            }
        }
    }

    func sendNotification(title: String, body: String) {
        let content = UNMutableNotificationContent()
        content.title = title
        content.body = body
        content.sound = .default

        let trigger = UNTimeIntervalNotificationTrigger(timeInterval: 1, repeats: false)
        let request = UNNotificationRequest(identifier: UUID().uuidString, content: content, trigger: trigger)

        UNUserNotificationCenter.current().add(request)
    }
}
After that, call for permission when your app launches:
.onAppear {
    NotificationManager.shared.requestAuthorization()
}
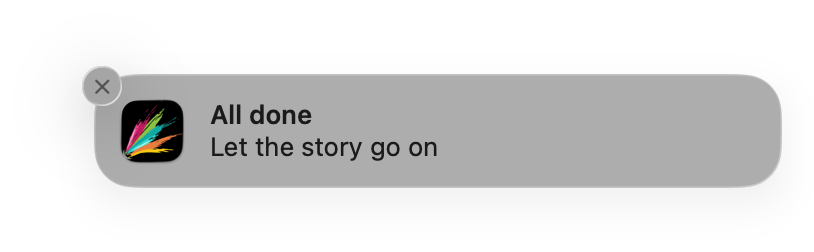
And after that, when your task is finished:
NotificationManager.shared.sendNotification(
    title: “All done!”,
    body: “You can jump back in and keep creating.”
)
Easy to implement, clear and effective.
2. Display Progress in Your Dock Icon
Notifications work great when something is completed, but what about while the process is still ongoing? Let’s provide the user a real-time visual cue.
To accomplish this, we’ll be using DockProgress—a lightweight open source library which provides you a way to add a progress bar to your app’s Dock icon.
Firstly, import the library:
import DockProgress
Secondly, select a style for your progress bar:
DockProgress.style = .squircle(inset: 2, color: .white)There are many styles included within the library for you to test out—find the one that best suits your app.
Lastly, update the progress of your progress bar as your task is being executed:
DockProgress.progress = 0.0
DockProgress.progress = 0.1
DockProgress.progress = 0.5
DockProgress.progress = 1.0
Once it’s done, reset it to avoid an weird reverse animation:
DockProgress.resetProgress()
That’s it. Now your macOS application feels responsive and professional—no annoying UI pop-up notifications, no second-guessing.
Why this matters
These little UX details make your application feel alive. Users should never have to monitor your window to determine what is happening. A gentle Dock progress bar and a clean notification says, “This developer understands what he is doing.”
This isn’t merely about coding—it’s about the respect of the user’s time. And that’s what differentiates an okay application from a wonderful one.