
Custom fonts in SwiftUI: A practical guide to standing out
How to Embed, Scale, and Dynamically Load Custom Fonts in Your iOS Apps—Without the Headaches

Custom fonts do more than just add decoration. They provide your app a voice and a style.
If you expect your iOS app to be different, or if the product simply deserves some personality, the default system fonts are not going to cut it.
Here's how to embed and utilize custom fonts in SwiftUI without losing your mind.
If you've ever asked yourself why your font simply won't show up, or you want your app to look like someone cared about it, keep reading.
Managing the font files: Why organizing is important
When you drag your .ttf or .otf file into Xcode, don't just drop it anywhere.
Add a "Fonts" group/folder in your project folder to keep things organized.
It's also a good idea to check Build Phases under Copy Bundle Resources just to make sure your font(s) are in there.
If your font isn't included, your app won't use it. Make sure to use lowercase, hyphenated filenames like inter-regular.ttf to avoid case-sensitivity issues.
Register your font in Your Info.plist
iOS isn't going to assume anything about what fonts you want.
Open up your Info.plist file and add the UIAppFonts key.
Under this key you will need to add each font filename (not the display name).
For example:
Exile-Regular.ttfIn Xcode this key will be shown as Fonts provided by application.
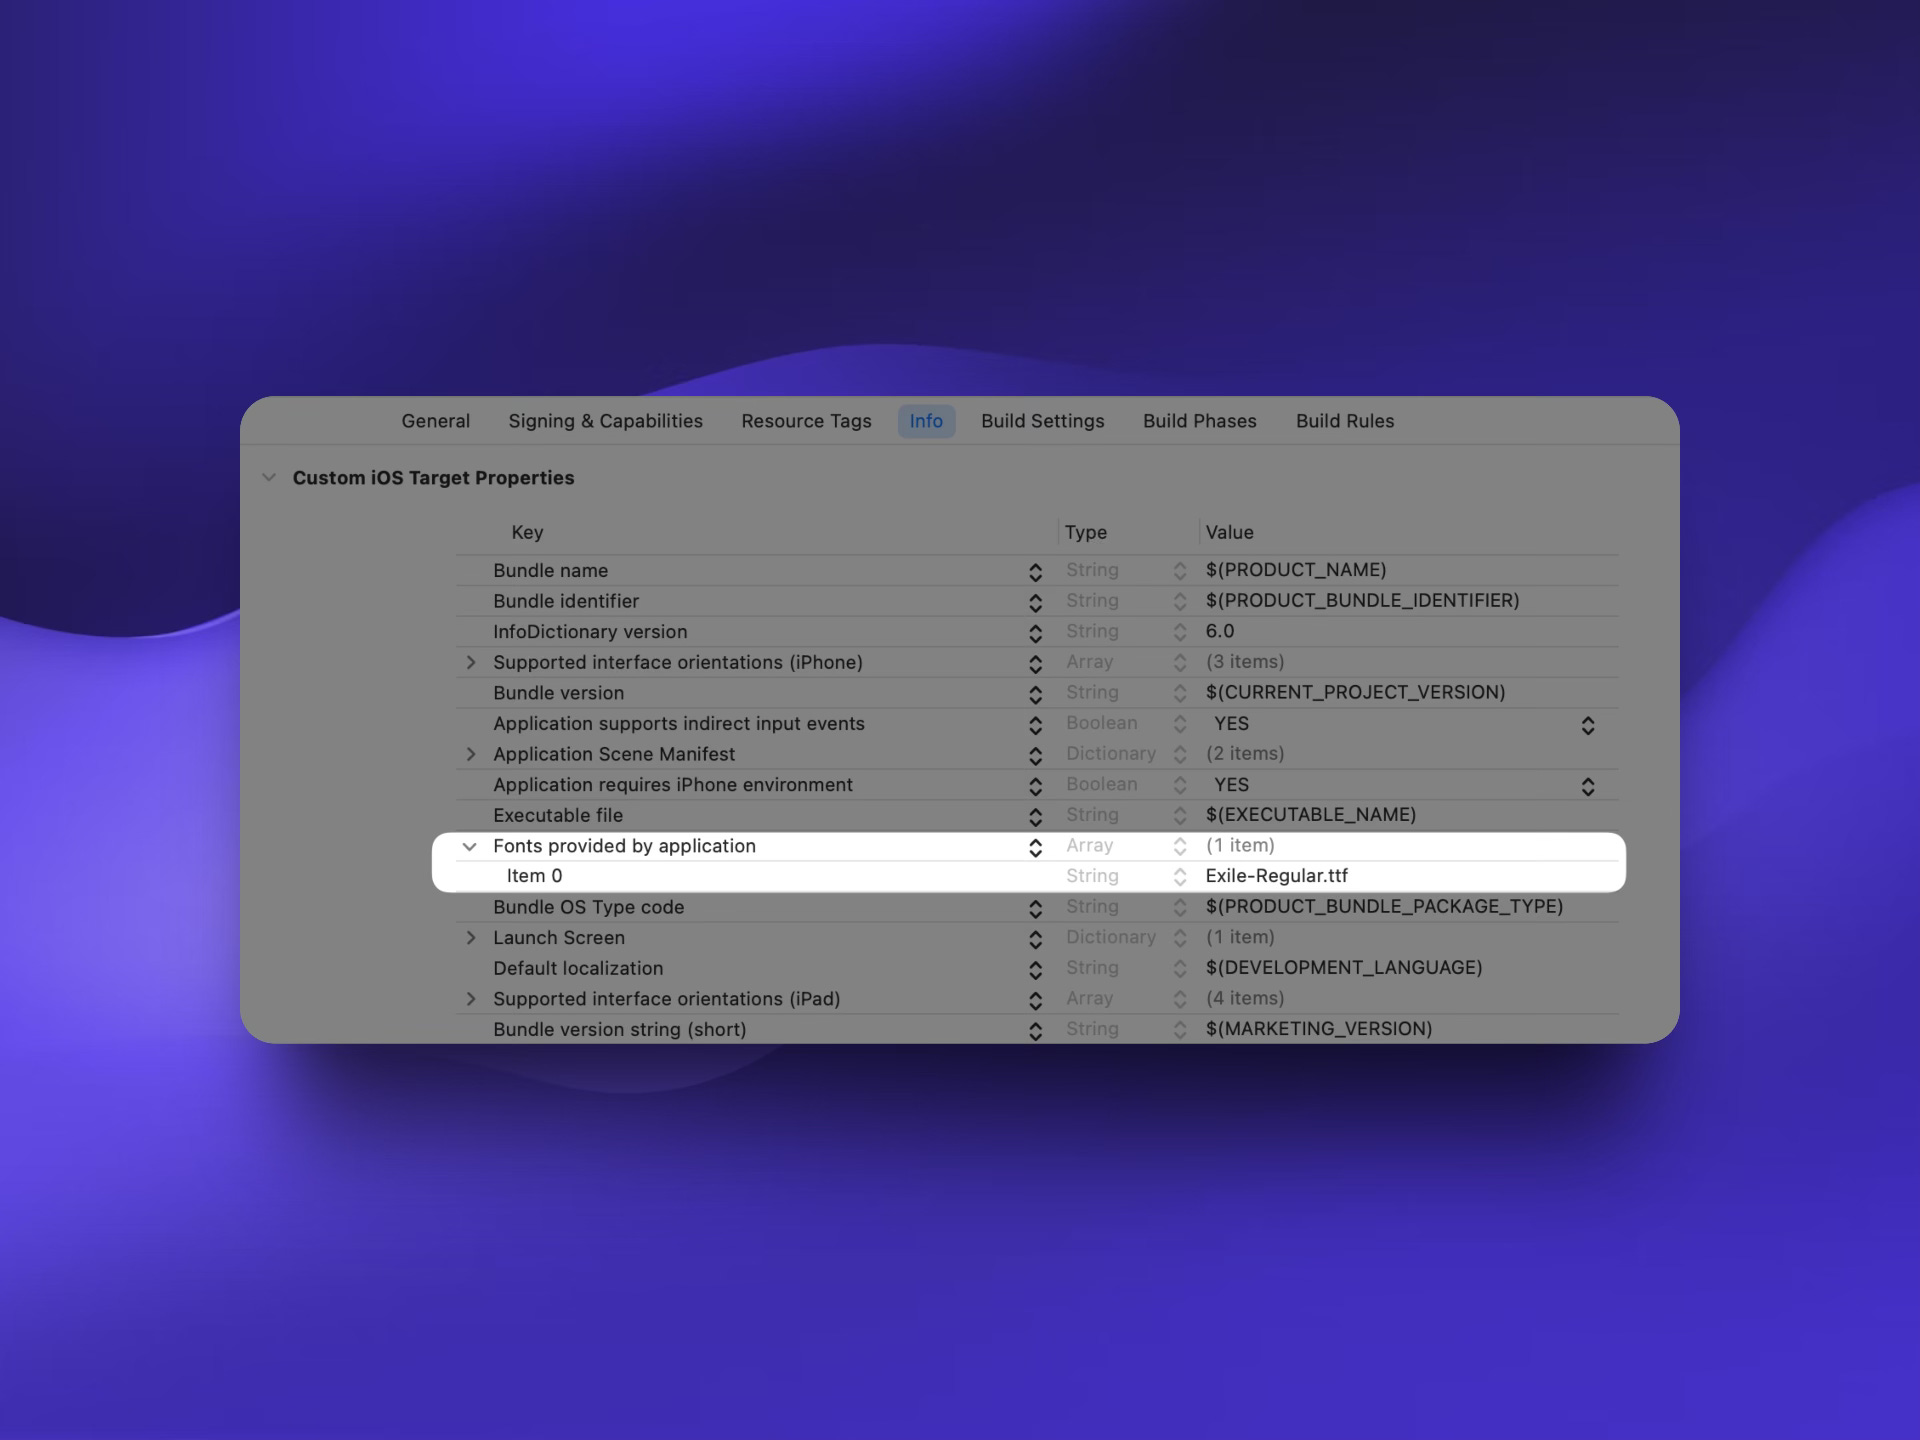
When you add a new entry it will be listed as Key and then under the property list editor it is labeled exactly that way.
Ensure that each filename matches, including the exact casing and extension.
If you miss this step, Xcode is not going to complain to you about adding a font. Your app is just going to pretend your fonts do not exist and go about its business.
Identifying the true font name.
The name of the filename is not necessarily the name you would use in code.
To get the internal font name you can execute the following:
for family in UIFont.familyNames.sorted() {
    print("Family: \(family)")
    for name in UIFont.fontNames(forFamilyName: family) {
        print(" - \(name)")
    }
}
Run it one time and include your font. Then copy the font name exactly as the output.
The code prints all font families and names available to your app.
The output will look like:
Family: Inter
 - Inter-Regular
 - Inter-Bold
Family: Helvetica Neue
 - HelveticaNeue
 - HelveticaNeue-Bold
You need the exact string for .font(.custom("Inter-Bold", size: 16)).
If you don't get the name specific, SwiftUI will fallback quietly to the system font as though nothing happened.
Dynamic Type and scaling with .custom() fonts
Let’s start with a basic example of using a custom font in SwiftUI:
Text("Hello World")
   .font(.custom("Exile", size: 20))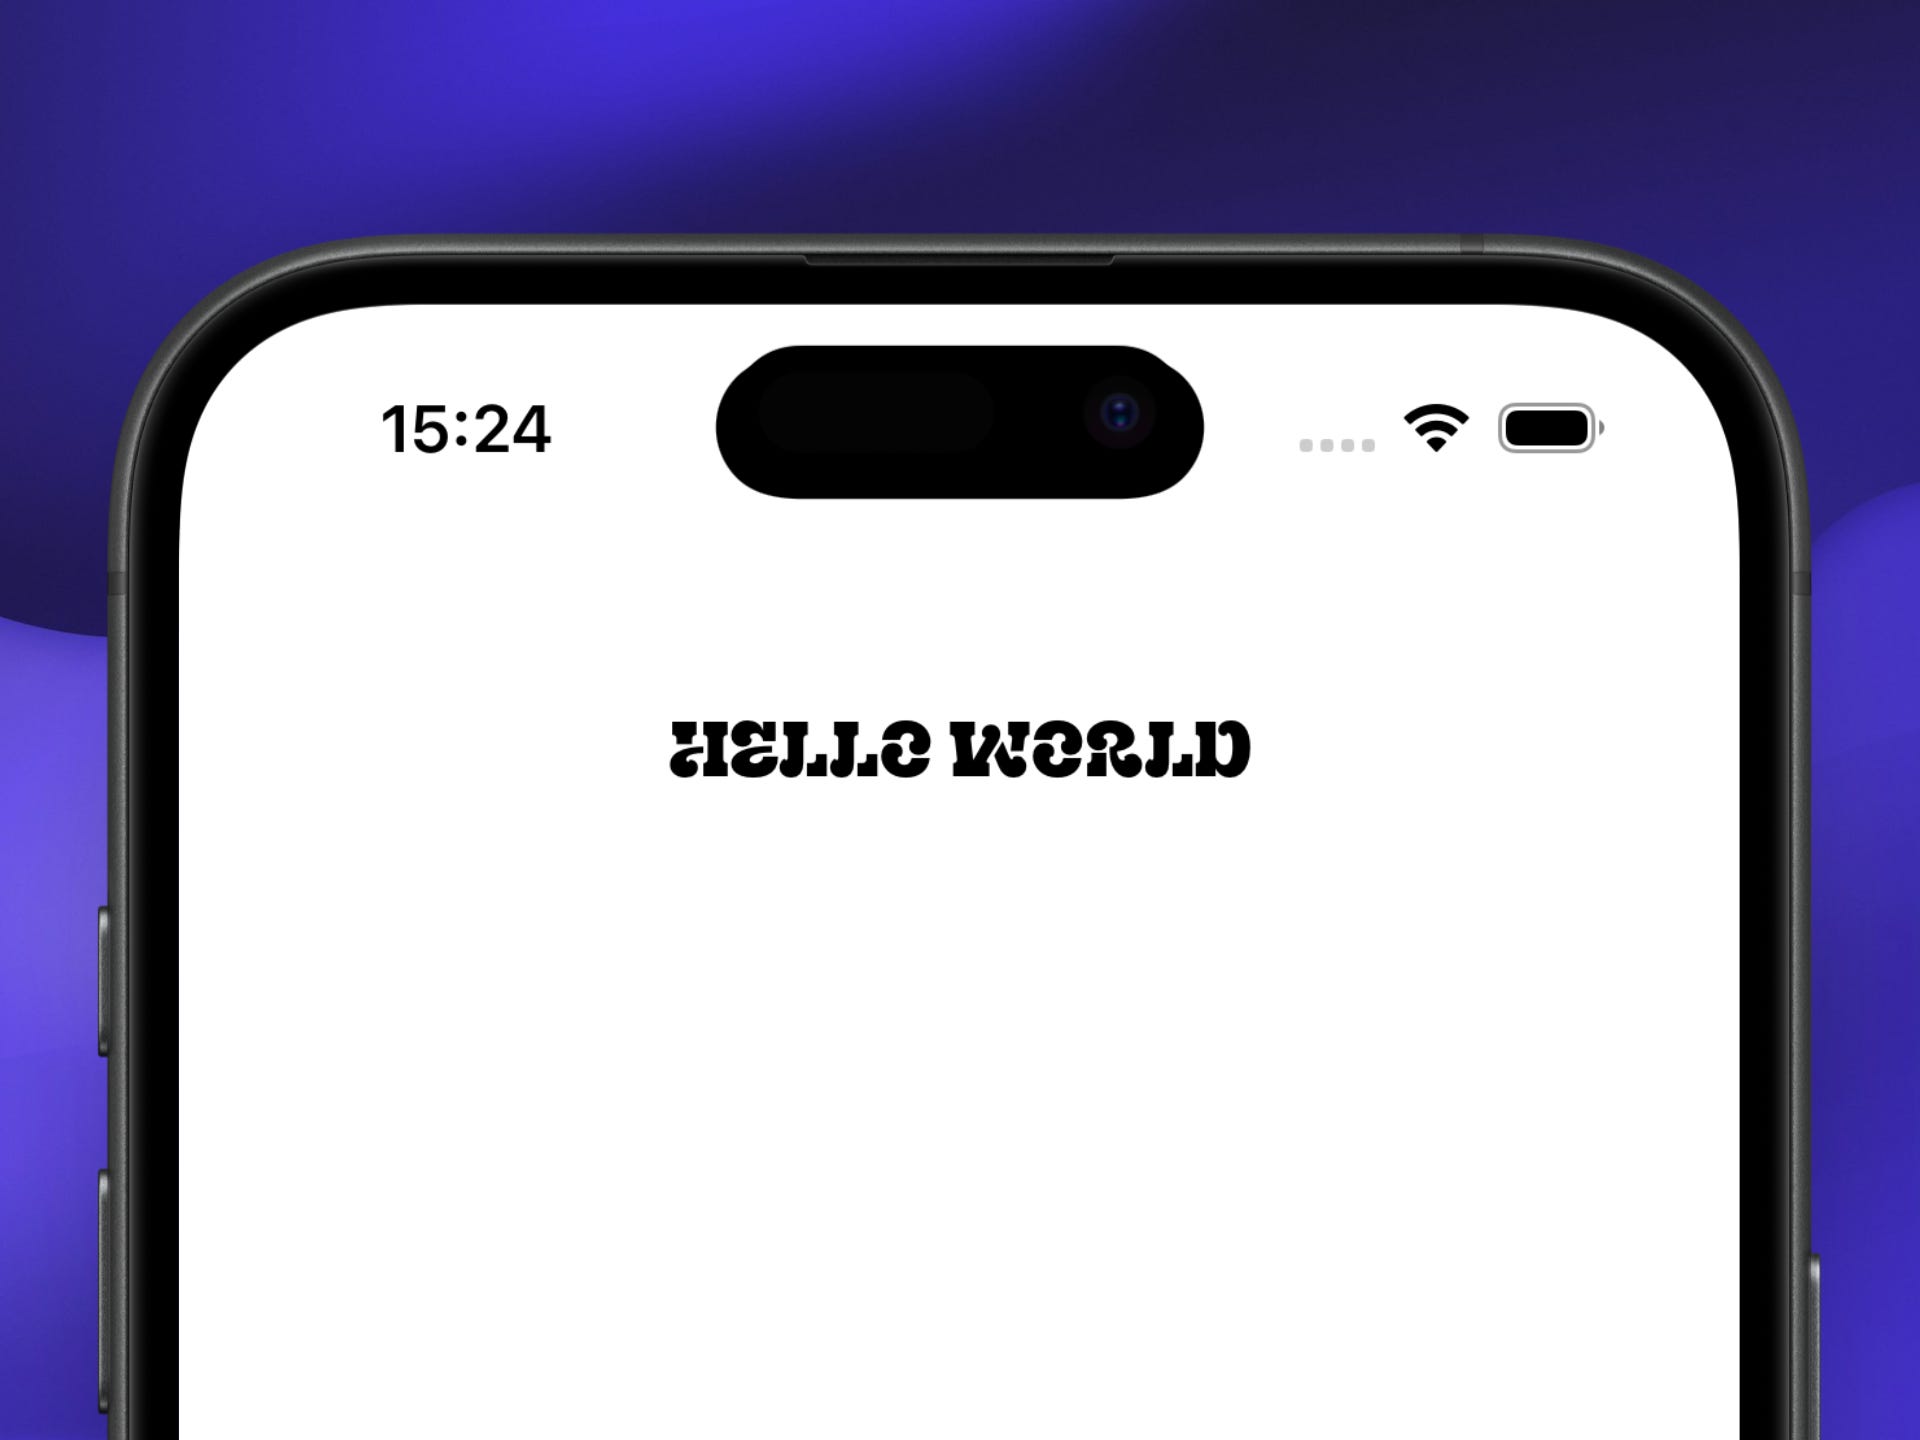
If you use .custom() with just a size (20), your font will still scale to the user's Dynamic Type settings — it will always respect the scale curve for .body regardless of where it's used.
If you'd like your custom font to also scale like an alternate system text style such as .headline, .title, or .caption, you will include the relativeTo parameter:
Text("Hello World")
  .font(.custom("Exile", size: 20, relativeTo: .headline))
Use relativeTo when you want your custom font to scale similarly to a specific system style.
If you leave it out, it's .body by default.
This gives you control over your fonts and still allows your UI to visually respect the rest of iOS.
Using text styles instead of fixed sizes for custom fonts
SwiftUI has a number of built-in text styles, such as .title, .body, and .caption, that give your app a native feel, and respond to the user's Dynamic Type settings.
But if you use custom fonts, you often end up hardcoding point sizes, or repeating font logic throughout your codebase.
So there's got to be a better way.
To solve this problem, you'll want to do a couple of things.
First, wrap your font selection in an extension so that you can leverage one, consistent API everywhere, and don't need to repeat font names or configuration in every view. This keeps your codebase clean, and it gives you the capability to change your font logic in one place.
Second, instead of hardcoding, use UIFont.preferredFont(forTextStyle:) to retrieve what the system recommends for each text style based on their settings. This way, your custom font's scaling, accessibility, and feel will always match the system's.
Now let's see how to put it all together:
extension Font {
static func exile(_ textStyle: Font.TextStyle) -> Font {
// Use the internal name of your font file
let name = "Exile-Regular"
// Get the exact point size for the current text style
let size = UIFont.preferredFont(forTextStyle: textStyle.toUIFontTextStyle()).pointSize
// Return the custom font sized and scaled just like system text
return .custom(name, size: size, relativeTo: textStyle)
}
}
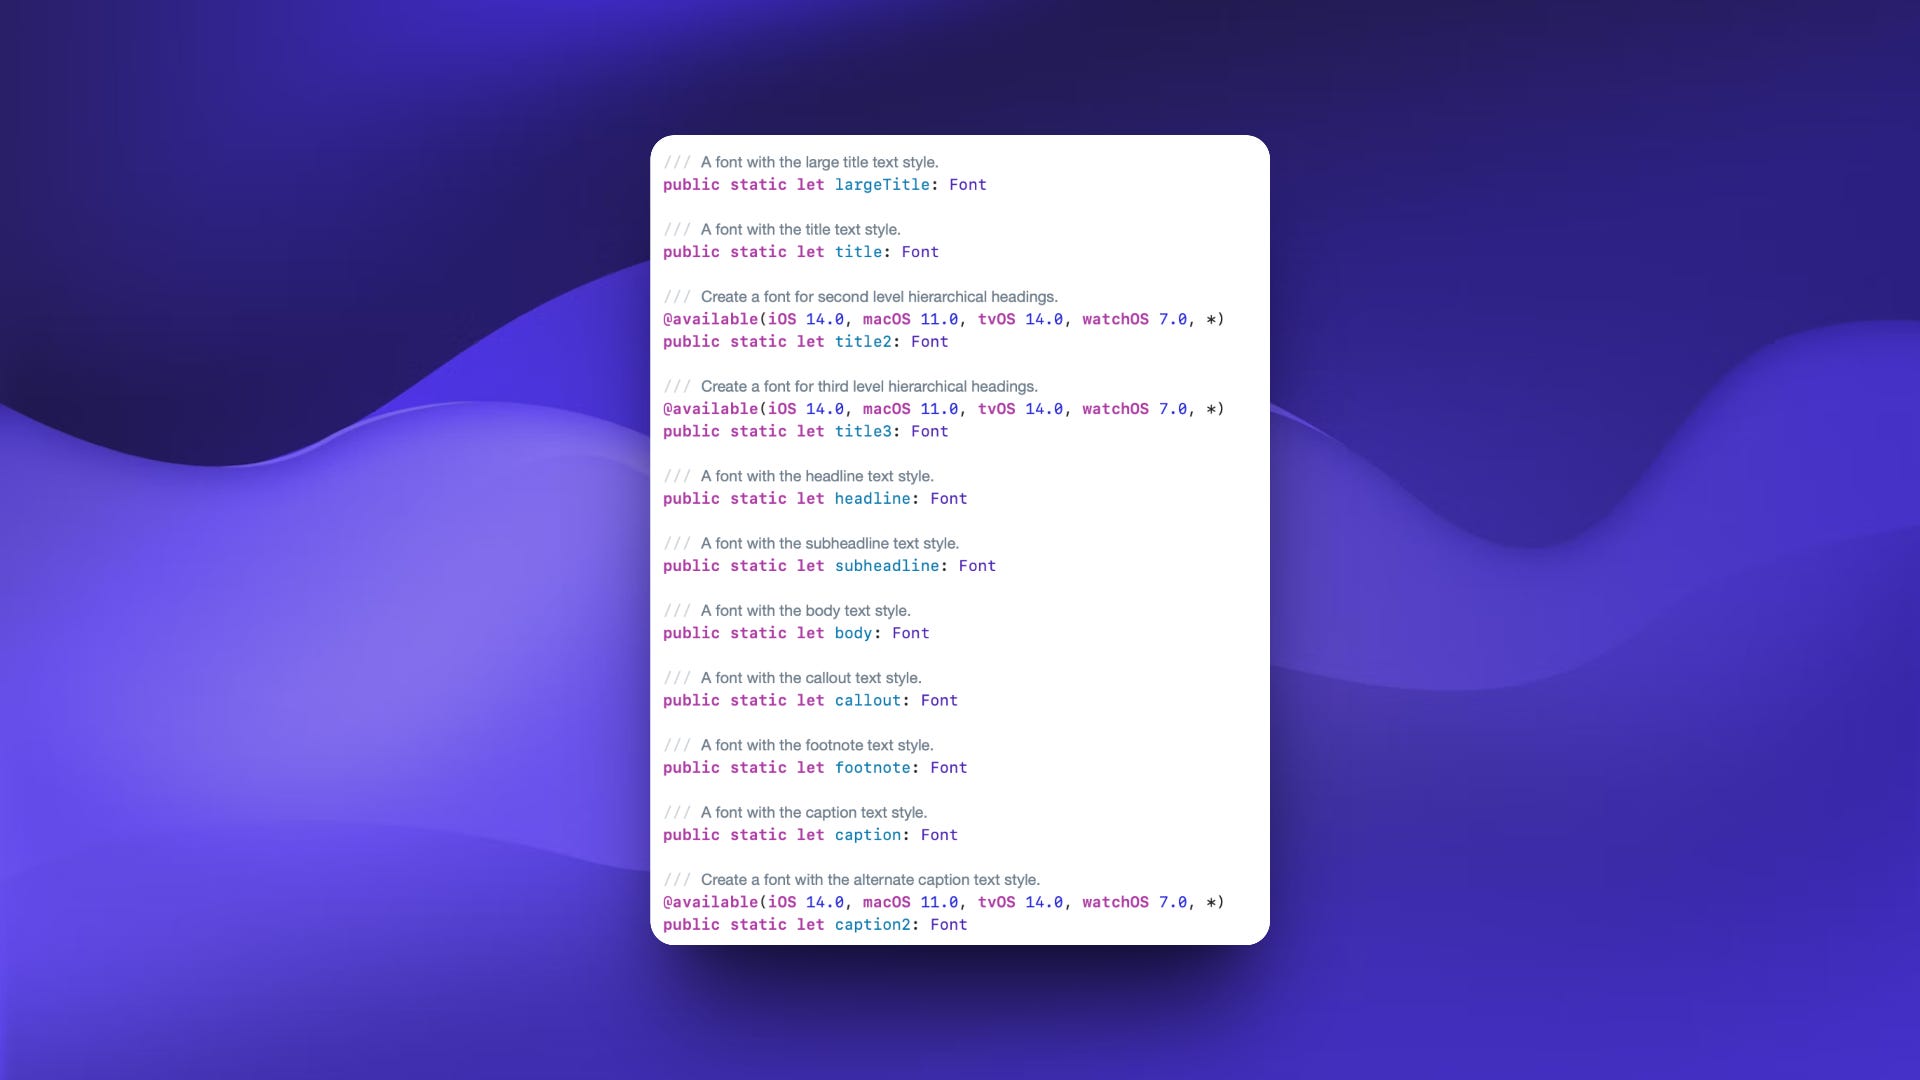
extension Font.TextStyle {
func toUIFontTextStyle() -> UIFont.TextStyle {
switch self {
case .largeTitle: return .largeTitle
case .title: return .title1
case .title2: return .title2
case .title3: return .title3
case .headline: return .headline
case .body: return .body
case .callout: return .callout
case .subheadline: return .subheadline
case .footnote: return .footnote
case .caption: return .caption1
case .caption2: return .caption2
@unknown default: return .body
}
}
}Here’s how this pattern works in practice:
You use a style, not a number: When you call
.exile(.body), you’re asking SwiftUI for your custom font, at exactly the same size the system would use for.bodyon this device.No hardcoded sizes: The extension automatically looks up the right point size for each text style using
UIFont.preferredFont(forTextStyle:). This keeps your UI in sync with any accessibility or Dynamic Type settings.Scaling just works: Because you’re passing the text style to
relativeTo, your custom font always scales like system text.
So, you never have to specify a number. Your font always matches user expectations. Your UI looks clean, accessible, and native—everywhere.
Now, to use it, your code is just:
Text("Body text")
    .font(.exile(.body))

Text("Big title")
    .font(.exile(.largeTitle))
This approach keeps your font code simple and ensures your custom font will always “just work.”
Loading fonts at runtime: For themes, small app sizes, or remote updates
Bundled fonts are perfectly fine, but sometimes you need to load the font from the web for user themes, smaller app sizes, or deliver new styles without having to rely on updates.
To begin loading the font, simply download it:
func downloadFont(from url: URL, completion: @escaping (URL?) -> Void) {
    // destination URL on the user's device
    URLSession.shared.downloadTask(with: url) { localURL, _, error in
        guard let localURL = localURL else {
            print("Download failed: \(error?.localizedDescription ?? "Unknown error")")
            completion(nil)
            return
        }
        completion(localURL)
    }.resume()
}
What type of remote file can you use?
When loading remote fonts from the web, make sure your remote URL is a direct link to standard font file, such as a .ttf(TrueType Font) or .otf (OpenType Font).
For example:
https://your.cdn.com/fonts/inter-regular.ttf
https://your.cdn.com/fonts/Roboto-Bold.otf
https://your.cdn.com/fonts/Exile-Regular.ttf
Make sure you are not loading a zip archive or encoded data—Swift and iOS expect a direct encountered font file.
This will ensure that your registerFont functions be able to download and use your font without any additional steps, or errors.
Then, you'll register the font.
For iOS 18 and greater:
import CoreText

func registerFont(url: URL) {
    var error: Unmanaged<CFError>?
    let success = CTFontManagerRegisterFontsForURL(url as CFURL, .process, &error)
    if success {
        print("Font registered successfully.")
    } else {
        let description = (error?.takeUnretainedValue() as Error?)?.localizedDescription ?? "Unknown error"
        print("Failed to register font: \(description)")
    }
}
For iOS 17 and less:
func registerFontLegacy(url: URL) {
    guard let data = try? Data(contentsOf: url),
        let provider = CGDataProvider(data: data as CFData),
        let font = CGFont(provider) else { return }
    var error: Unmanaged<CFError>?
    CTFontManagerRegisterGraphicsFont(font, &error)
}
How font registration works
Once your app downloads a font file from a remote URL, it’s not immediately usable—you need to register it with iOS.
Font registration tells the system, “This font is now available for my app to use.”
On iOS 18 and greater,
CTFontManagerRegisterFontsForURLallows you to register a font file from the local file system URL.On iOS 17 and below, registration is done by loading the font data into memory and calling
CTFontManagerRegisterGraphicsFont.
SwiftUI only checks for custom fonts when the view is created.
If your font is not registered by the time SwiftUI is checking, it will quietly use the system font and never attempt to check for the custom font again.
Make sure the font is downloaded and registered before displaying any views that use the font.
Show a loading indicator while the font is preparing.
Only show your main content when the font is available.
This way the user’s experience never gets set back on an inappropriate fallback.
@State private var fontIsReady = false

var body: some View {
    Group {
        if fontIsReady {
            Text("Loaded at runtime")
                .font(.custom("YourFontName", size: 20))
        } else {
            ProgressView("Loading font…")
        }
    }
    .onAppear {
        // Example: Put your remote .ttf or .otf
        downloadFont(from: URL(string: "https://your.cdn.com/fonts/inter-regular.ttf")!) { localURL in
            guard let localURL = localURL else { return }
            if #available(iOS 18, *) {
                registerFont(from: localURL)
            } else {
                registerFontLegacy(from: localURL)
            }
            fontIsReady = true
        }
    }
}
In this example, downloadFont fetches a remote .ttf or .otf font file.
The registration function makes the font available to your app.
Only after the font is downloaded and registered do you show your main content — that way your custom font always displays correctly without a fallback to the system font.
Where developers go to find high-quality, legal fonts for iOS
The right font can help set your app apart. Here’s where developers find quality fonts with reasonable licensing for mobile apps:

Always double check the individual licenses before you ship a commercial app. Lawyers are more boring than fonts.
Why you don’t bundle every font…
Fonts look small, but they add up.
A single .ttf or .otf is going to be 200–400 KB on average, and that is just one style.
If your app supports different weights or languages, each is its own file.
If you bundle 10 styles over three languages you are going to add a significant few megabytes.
App size matters.
Large bundles mean longer downloads, less install rates, and possibly App Store review headaches.
Most people will never use all of those custom fonts and you are requiring everyone to pay for a handful of edge cases.
The better option: only package the fonts and styles that your app actually uses.
If your users want more—maybe they want to create their own themes.
If an app user wants a rare language or brand, let them download those fonts on demand and cache them.
Your app will be appropriately fast and lean and power users still get to obfuscate their brand.
The bigger picture
Custom fonts may seem like a small detail in your app, but they make a clear statement: you care about polish and user experience.
Not everyone pays attention to these small details--but you do.
You want your work to be special, and you want your app to feel intentional and one-of-a-kind.
If you enjoyed this guide, please consider subscribing to our newsletter.
You will receive more practical SwiftUI and iOS tips like this one—focused on real projects, useful code, and building applications that are truly special.